With the reconstructed tape downloaded and setup, you’ll be able to view the tape for any tradable security on your platform.
Below is the transcript of the video you’ll get access to with your subscription.
Hello folks, this is Ralph. And today I’m going to show you how to set up the reconstructed tape study in your Sierra chart instance. This study is actually pretty common and it took a long time to develop and therefore complex study to set up. So the easiest way to get it on your chart book is by simply copying it from the chart book that I’ve already provided.
So right now we’re looking at a chart book that I have open. It’s just called Trump book one, as you can see right up here, and I only have one chart open doesn’t really matter what kind of chart you have open, but just imagine this is your chart book. They used to trade. Every day and you want to get the reconstruct the tape on to this chart book.
So to do that as a subscriber of the custom studies, I’m already logged in here as a subscriber. So this is your dashboard for your accounts. You now have access to this downloads page. So click on downloads and then you’ll be able to download the chart books. That I provided and I put together for you.
So click and the link, click on save file. And then once you’ve downloaded it, you can go ahead and open the zip file, get access to all of these different chart books that we have right here. So what you want to do now is copy all of these different chart books, just click on copy, and then you’ll go into your Sierra chart folder on your computer.
So under your C drive Sierra chart, and then go into your data folder. In here, you’ll want to paste all of those chart books that we just looked at. And then once they’re in here and, you know, if you moved your Sierra chart folder or somewhere else in your computer, that’s on you, you need to figure out where that is.
But usually it’s under C Sierra chart and then data. So paste those in here. And then you can go ahead and go back to your Sierra chart instance. And then you can go under file, open chart book, and then you should be able to see all of these different chart books that we’ve copied over. You’ll want to find the one that is called reconstruct a tape.
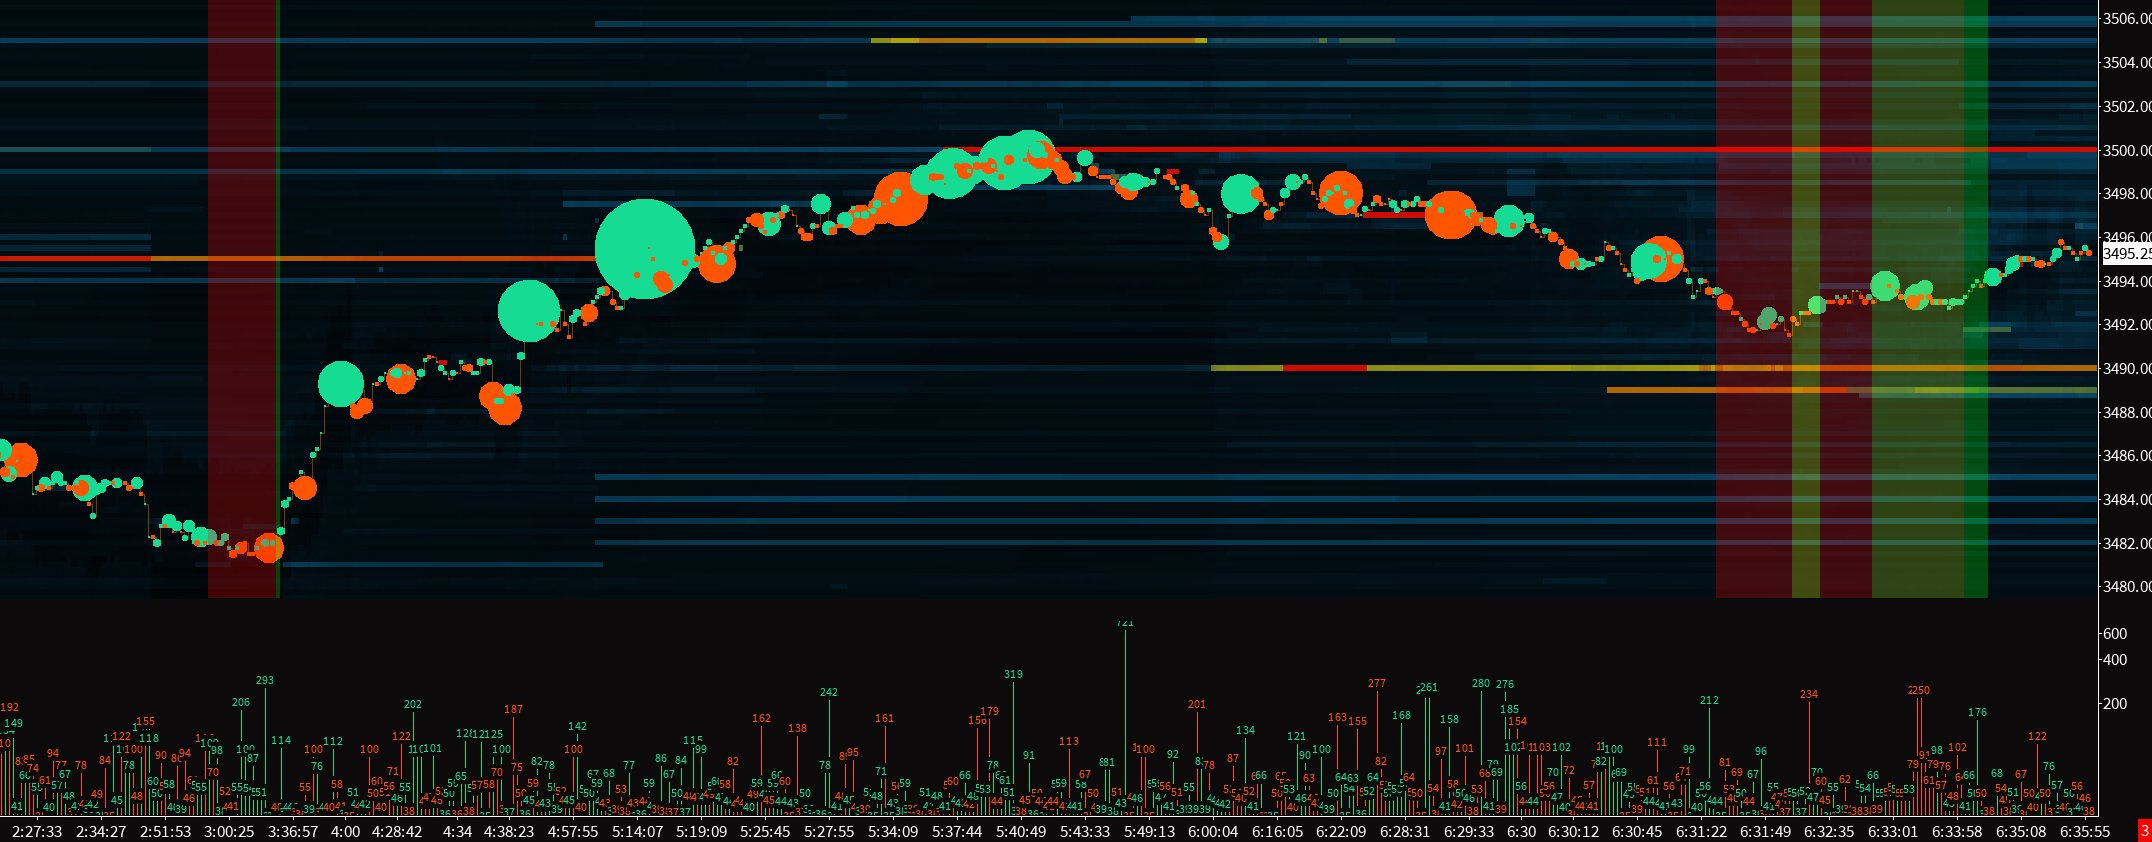
So Pitt reconstruct a tape, open that up. Now with this chart book, obviously we’re seeing the reconstructed tape here, but you may see a blank screen, so it’ll be completely black. So one of the first things you’ll want to do is go to chart settings. The issue here is that the symbol for your data feed is different than mine.
So whatever product you’re used to trading, it may be the mini S and P, which is what it’s configured right now, or the NASDAQ or the Russell or whatever, Forex exchange. Doesn’t matter. You’ll have to go in here and change it manually. Okay. So you actually have to copy the symbol that you normally use into this field and also onto the field above it.
But on the field, above it on the top field, you have to make sure that the symbol is suffixed with these flags right here. Okay. So just make sure that you do this correctly. There’s a dash right here, separating the symbol and the flags that I’ve added. All right. So you just make sure that you have this.
So as you can see right here, you’ll have your symbol, which should be identical to the one underneath and they need to leave the flags as they are. Right now with the chart book that you’ve opened. So now once you do that and make that change just hit apply. And then hopefully at this point in time, the reconstructed tape loads for you, then there’s likely some other issues.
So just go ahead and get in touch with me and I’ll help you out. But this is about 99% of the cases because I use the Denali data feed from Sierra chart. And this is the symbol for them. But if you use CQ G or rhythmic or whatever, other data feed, it’s likely going to be different. So now that we’ve gotten past that you can now go ahead and copied this chart onto your chart book.
Right? So we have the reconstructed tape chart book right here. We have my own personal chart book right here. And then back on the reconstructive tape chart book, you can click on chart, duplicate chart to chart book, and then you can select your own personal chart book from this little menu. Now if you click on, okay.
And you can actually select this little switch to your own chart book will automatically switch you and load the tape on your new chart books. So now you have your previous chart, you know, that we were looking at, and then we have the tape and now you can make all the changes to the tape that you want.
We’ll go over the different inputs for the tape, but at least now you can get it onto your own chart book. You don’t need to go and set it up manually. It’s just an easy copy and paste. So I hope this video was helpful and setting up the reconstruct a tape. Please go ahead and watch our next video so that we could go over the different inputs for the tape.
And until next time everyone, happy trading!